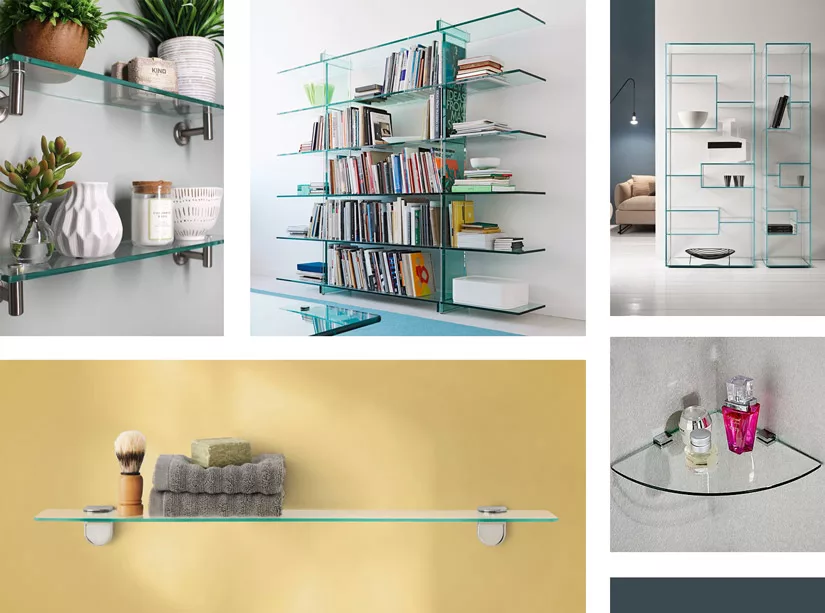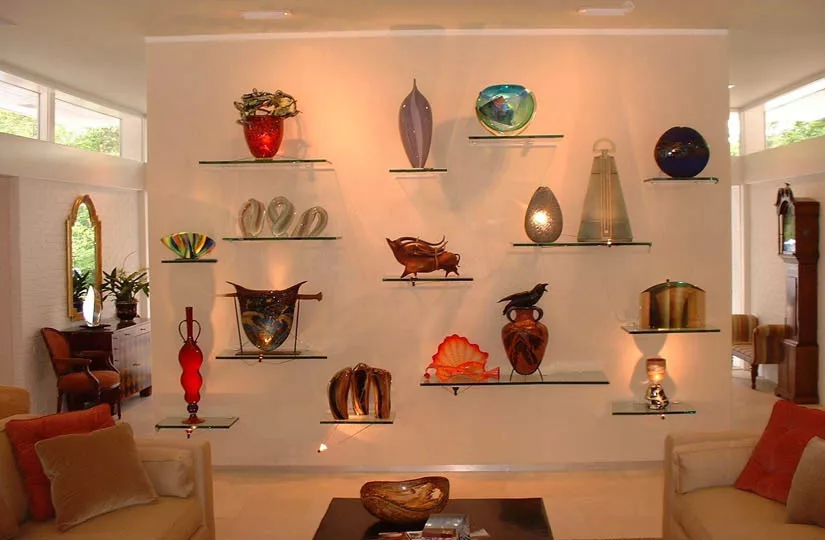
A display, a vignette, a “shelfie”……whatever you call it, glass shelving adorned with tastefully curated and arranged items will improve any room. Of course you want the finished product to look like something from a home design show, not like one of your storage bins exploded on a shelf. Thankfully, there are tried and true methods to avoid disaster and achieve a photo-worthy effect. We’ll take you through every step of creating a display with glass shelves, from ordering the custom shelving through arranging and cleaning your knick-knacks.
1. How can glass shelves be customized to my needs and preferences?
2. What are the best wall locations for glass shelving?
3. Can glass shelves also be installed in cabinets?
4. What about the backdrop of a glass shelving display?
5. Can lighting enhance a display on glass shelves?
6. How should I choose items for my display?
7. What is the best way to arrange the items?
8. When should I change the items in the display?
9. What is the difference between a minimalist and maximalist approach to a display?
10. How should glass shelves and their contents be cleaned?
11. Where can I order glass shelving for my display idea?
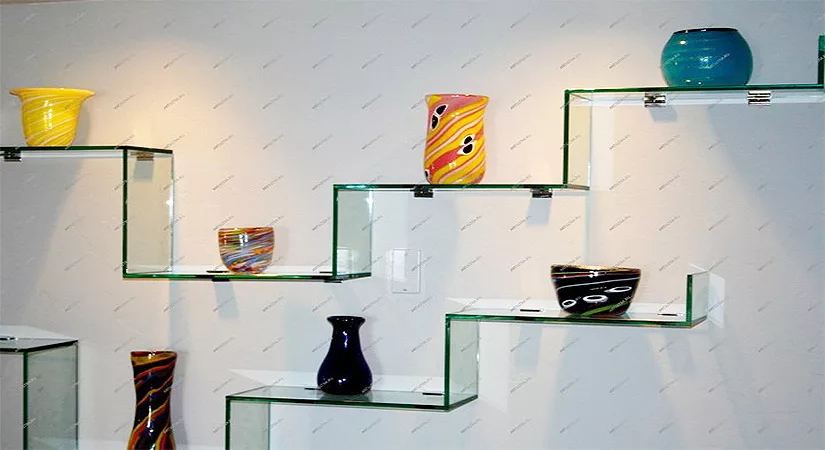
The first step in creating your display is to order your glass shelves from a custom glass shop. This allows you to customize the shelving in various ways:

You can also select the placement of the glass shelves on the wall and have them professionally installed. These customization options open up a variety of creative possibilities like using shelves of different lengths in one grouping.
Finally, glass shelves can be tailored to your practical needs as well. Most glass shelves are made of annealed (standard) glass, which is suitable for typical applications. However, if the location of the shelves puts them at risk of damage, you might want to upgrade to one of the following safety glass options:
The bottom line is: custom glass shelves can be tailored to both your design ideas and your practical requirements.
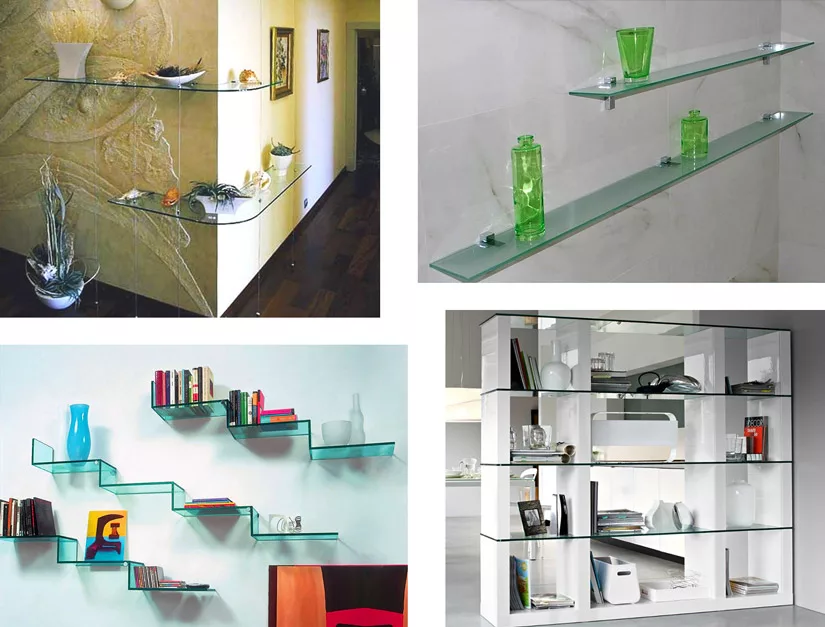
Glass shelving can be installed anywhere in a home. However, they especially shine in certain rooms:
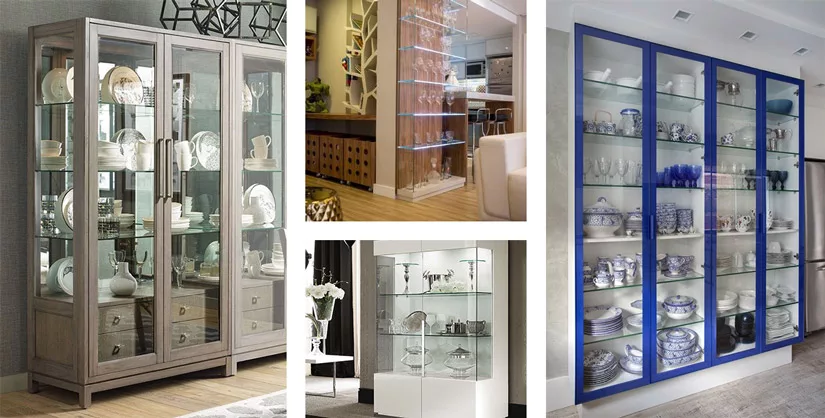
Yes, glass shelving is not just for wall shelves. It can also replace the old shelving in cupboards, hutches, and other cabinets. In fact, this is a great way to update a built-in or piece of furniture. For example:
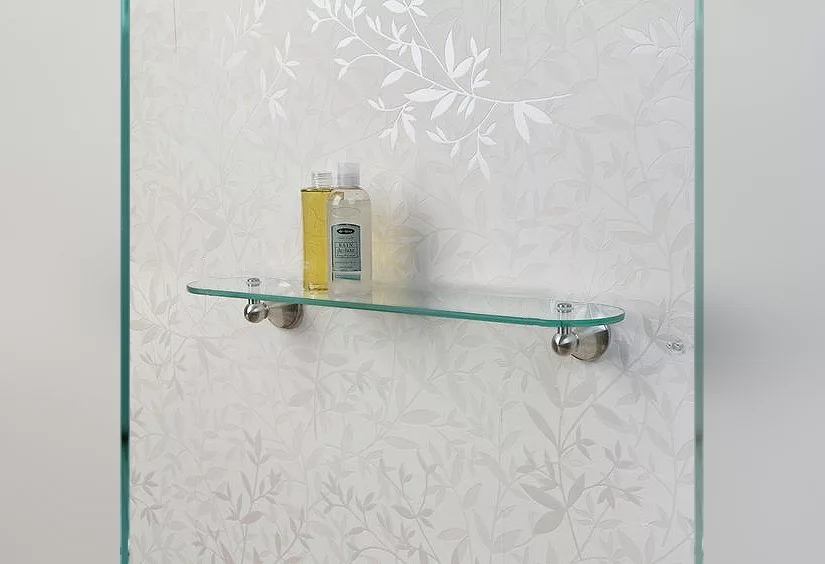
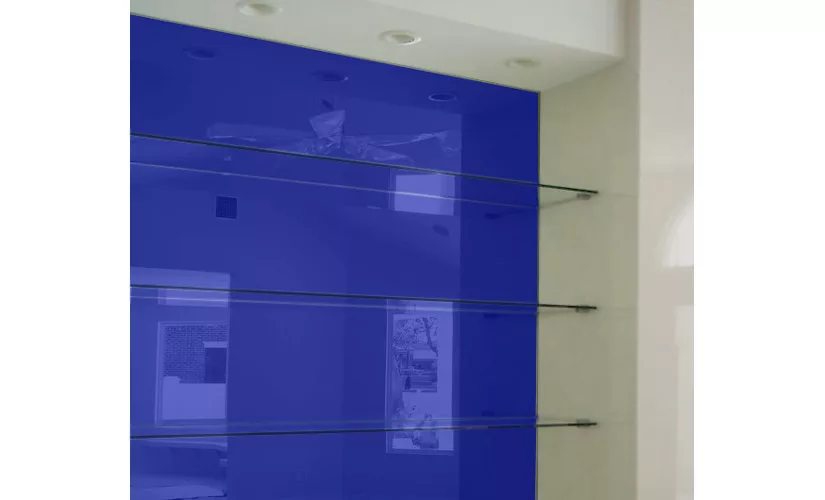
For glass wall shelves, the paint or wall paper you’ve chosen will serves as the display’s backdrop. To really make a large display pop, considering painting the wall where it is going a different color. Likewise, you could use wallpaper on just that wall to add visual interest and draw the eye. It is also possible to have a custom mirror installed and then have glass shelves installed in front of it. Finally, artwork and other wall hangings can be hung on the wall behind the shelves to serve as part of the display.
When glass shelves are installed in a cabinet, there are even more backdrop options.
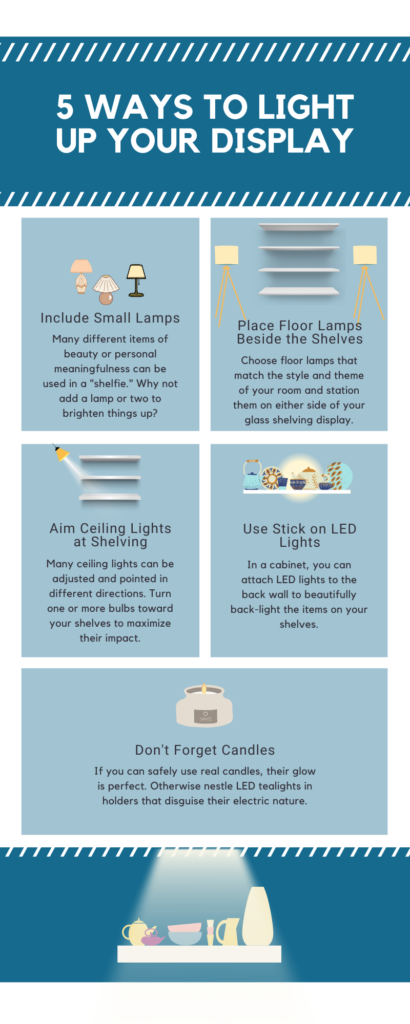
Absolutely! Lighting is a wonderful way to highlight and optimize your glass shelving display. There are many possibilities:
Also, don’t forget candles. In some cases, tealights can be safely used on a shelf, and it’s hard to match the appealing glow of candle flames. There are also flameless candles, but only use these nestled in frosted or colored glass holders, so that it’s not obvious that they’re electric.
The best glass shelving displays are not just stylish, but they also make you feel happy! This means that you should choose items you love and find personally meaningful. If you already have items on the shelves, start by taking all of them off. If the shelves are currently bare, start by gathering all the things you might wish to include. Pieces that will work well include:
As you can see, the possibilities are practically endless, and that’s because unique and out-of-the-ordinary pieces only add to the charm of your “shelfie.” Make sure that your assortment includes large and small items as well as pieces of various colors and textures.
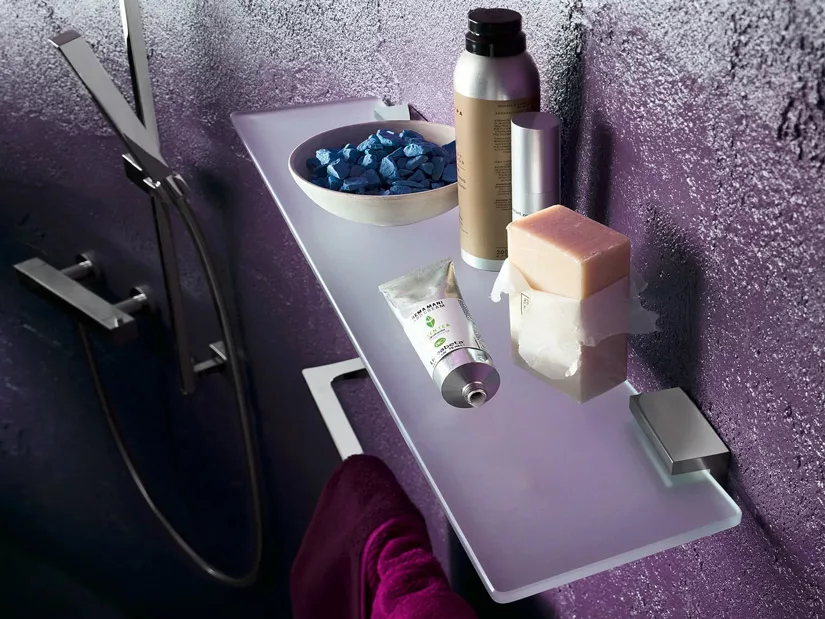
Once you have gathered all the pieces you may wish to include on your glass shelves, divide them into groups by size, color, or theme. You may also wish to refer to some décor advice like these “shelfie” tips from Eclectic Creative interior design studio.
When you’re ready to begin, place the largest items on the shelves first, then the medium ones, and finally the smallest ones. Remember that odd-numbered groups are more attractive, so cluster your treasures in ones, threes, and fives. Other pro tips include:
There are actually a few different approaches you can take to keep the vignettes on your glass shelves fresh and on-trend.
Whichever approach you prefer, it’s good to look at your display with fresh eyes at least once a year. Consider which colors, materials, and motifs are trending. Would you like to bring one or more of these into your collection? Are there any faddy items that have gone out of style and should be removed? If it contains photographs, should they be updated? Keeping an eye on these points will ensure that your shelving vignettes always maximize the room’s beauty rather than dragging it down.
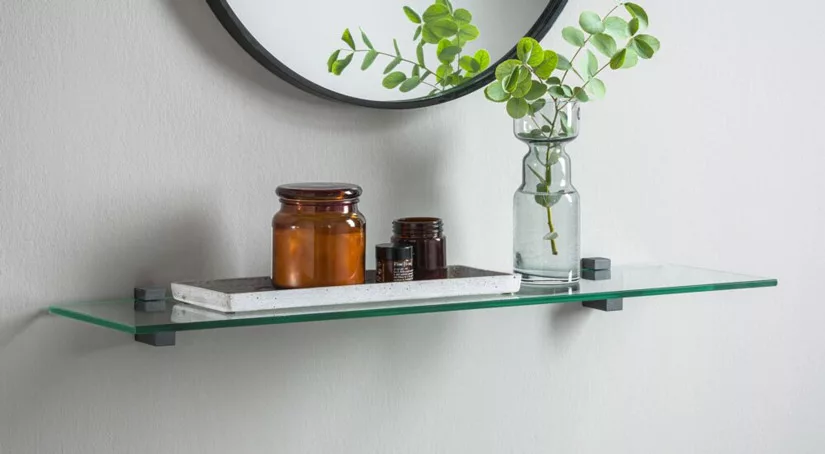
Although they are polar opposites, both minimalism and maximalism are currently influencing home décor choices. If you prefer a minimalist approach, keep lots of negative space on your glass shelving and only decorate with a few favorite pieces. Minimalist rooms often feature a white color palette broken only by natural tones and pale, soothing hues. Items you may wish to use on a minimalist display include:
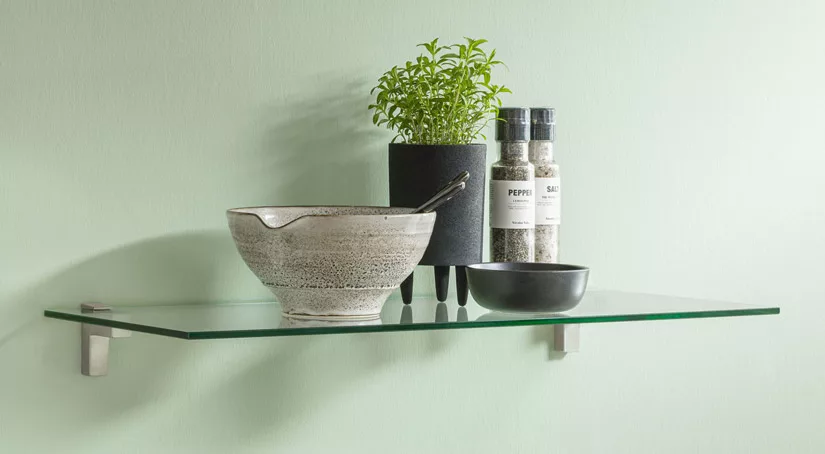
On the other hand, maximalism features layers of items, bold colors, and very little negative space. However, a successful maximalist display is not as easy to create as you might think. Get it wrong, and the effect will simply be cluttered and untidy. Here are some points to keep in mind if you want to give this a try:
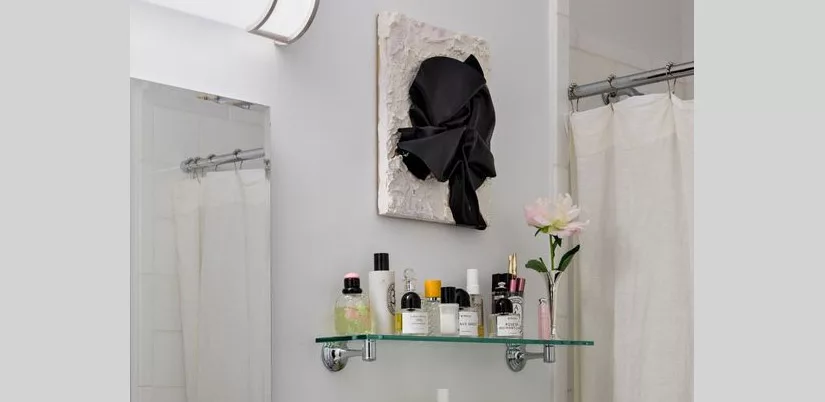
On a weekly basis, the glass shelves should be cleaned with a feather duster with their contents left in place. Once or twice a month – depending on the dust level – a deeper cleaning is desirable. Unless you are planning to rearrange your display, start by snapping photos of it with your phone. (So you don’t forget where everything goes.) Then remove all the items, being careful to place fragile pieces in a safe area while you work. Next, wipe all dust from the shelves. Apply glass cleaner to a cloth or piece of newspaper and clean the glass, being sure to completely buff it dry. Wipe down the items from the display as needed, and using your photos as a guide, put all the pieces back into place. Staying on top of the cleaning saves you time in the long run, especially because ornate pieces can be difficult to clean once they have gotten very dusty.

Finally, let’s look a few glass cleaning FAQs to help you avoid possible pitfalls.

What type of cleaners are safe for glass shelves?

Use only approved cleaning agents on your glass shelves and avoid all harsh or abrasive substances. You can also make a 50/50 vinegar and water cleaning compound. Do not use scrubbing powders or harsh chemicals on glass shelves as they can cause permanent damage.

What should I use to wipe down the glass?

Once again, avoid anything harsh or abrasive like scrub brushes so that you do not scratch the shelving. Paper towels will not hurt the glass, but they tend to leave lint. A microfiber cloth or piece of newspaper is a good choice for avoiding streaks or lint.

Should I spray the cleaner on the shelf or on the cloth/paper?

In general, it is best to spray the cleaner onto your cloth or paper. This is because spraying it onto the glass can result in cleaner dripping on your wall or floor and potentially causing damage or discoloration.
ABC Glass & Mirror is a local, family and veteran owned glass shop that supplies and installs custom glass shelving. Give us a call at (703) 257-7150 during our office hours of Monday-Friday, 7:30am-4:30pm. You can speak with a glazier about your project and set up a free in-home consultation and estimate. From here, the process is simple:
Working with a custom glass shop takes the hassle and guesswork out of the project. Our glaziers are knowledgeable in key areas such as using the appropriate glass and support system for the weight of the items you’ll be putting on the shelves. They can also provide tips and advice based on their years working with custom glass.
Once the shelves are installed, you can begin the fun part – creating the perfect “shelfie” for your living space!
